Validating and Correcting Data
After
-
You can update the data manually in the web interface as described below. You can also review field validations and make the corrections accordingly.
-
Since only the main General Ledger accounts are migrated in DataSync, you may need to manually migrate the segment and sub-account fields.
-
For multiple, complex changes you can update the data manually in DataSync using
-
You can update the data in the source tables and import the tables again in DataSync.
-
You can export the worksheet in Excel (Data Entry Export) and make the changes manually, and then re-import the data in DataSync (Data Entry Import) as described in

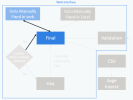
Correcting the data overwrites the FINAL tables. You also have the possibility to
Updating Data Manually
Data entry is enabled by default in worksheets.
To update the data manually:
-
In the web interface, open the worksheet under the appropriate module.
-
Look at the data.
-
If you identify an issue, click the field and enter the new value as needed.
When clicking a name, you can use the prompt to select the name from a list.

-
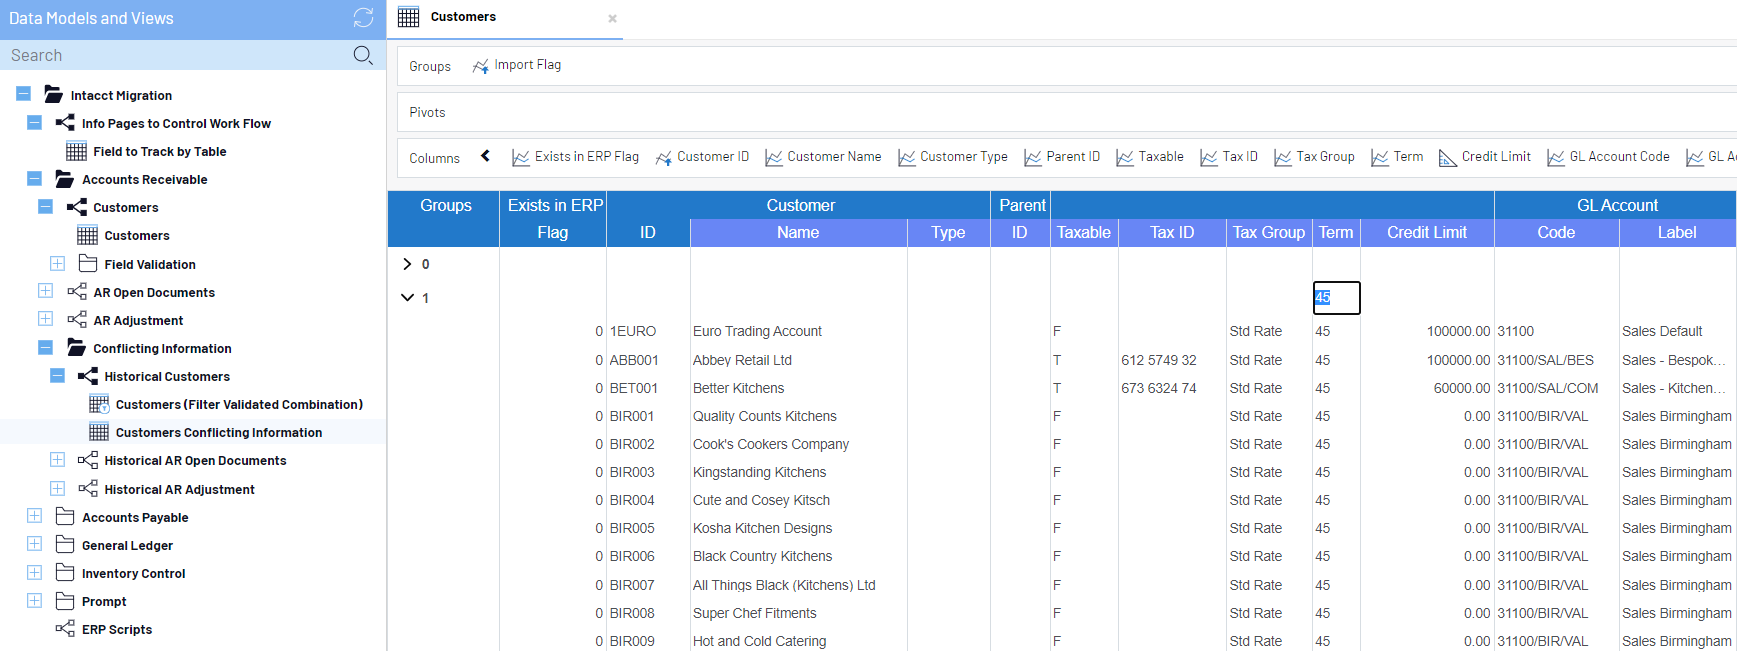
To make massive updates at once:
-
Move the dimension to the Groups section.
You can also drag and drop the
-
Enter the data at the top level.
-
Press Enter. All entries are automatically updated for the group.
In our example, we changed the Term to 45 days.
-
-
Save the worksheet.
Reviewing Field Validation and Correcting Data
Data is validated during the first load. Issues are identified in the Field Validation folders under each module. If a field is blank or does not have the same value in the destination environment, make the appropriate changes as follows:
-
Navigate to the Field Validation folder under the appropriate module.
-
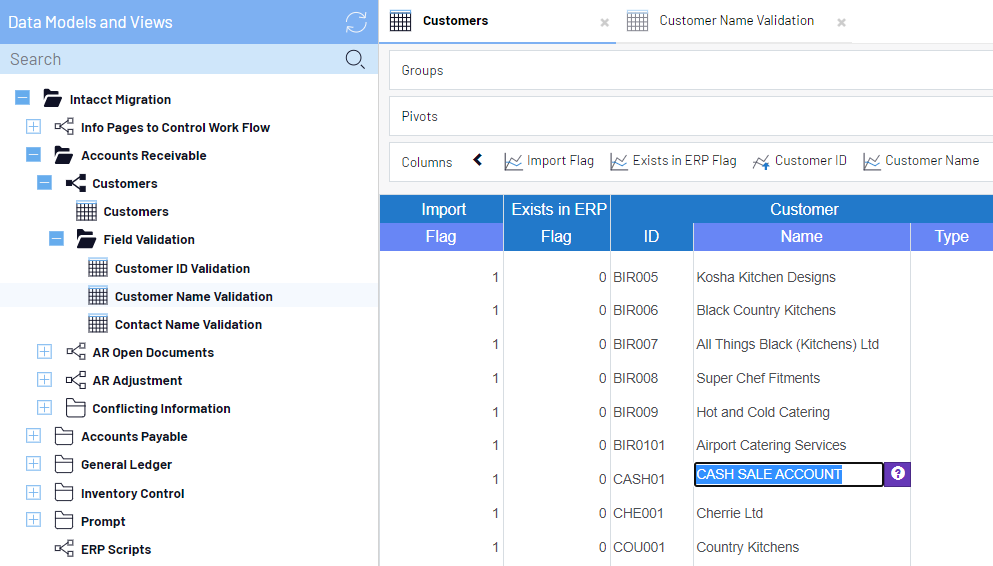
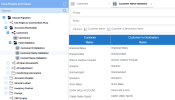
Open the validation worksheet for the desired field and check for missing or different values.
In our example below, we opened the Customer Name Validation worksheet under the Customers template.
-
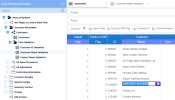
If you found discrepancies, open the worksheet of the template that you want to fix.
-
Locate the field that has the discrepancy and enter the new value. You can create filters to find the incorrect data more quickly. You can also group the data to fix multiple values at the same time.
-
Save the worksheet. The next time you refresh the field validation worksheet, the discrepancy will no longer be displayed.

