Creating a Dashboard
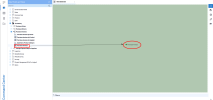
- Select the Dashboard tab and right-click in the empty space.
- Select New Dashboard.
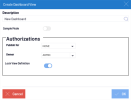
- In the Description field, enter a name for the dashboard.
-
Under the Authorizations section, in the Publish for drop-down list, select for which user or group the dashboard will be accessible (refer to Saving Changes for more details).
- Click OK. An empty tab is displayed to design the dashboard.
-
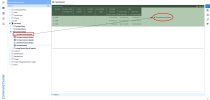
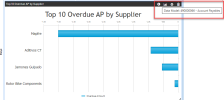
Select the view to be used from the Data Models and Views tab and drag and drop it on the empty tab. After the view is dropped on the empty tab it will display and fill the page.
-
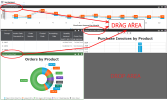
To add more views to the page, drag and drop other views to the desired location as needed.
TipYou can move the views by clicking and holding down the mouse in the header section, then dropping them in the desired location.
-
Click Save changes.
