Installation
This topic provides troubleshooting steps for SEI installation issues.
The hostname should always be something other than localhost for all websites and services when configuring SEI, even if everything is installed on the same machine. The reason is that it can create instability while using the product if a hostname is set as localhost, particularly for an embedded application that does not work with localhost.
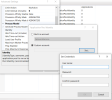
If a specific user is used for the authentication to a website or a service, validations are done to verify if the given user is valid. This validation is only an indicator to warn you of potential issues when authenticating.
For example, if you get the following warning, it might be because you do not have the required setup to access the specified domain:

To change the current domain of the machine:
-
Search for View advanced system settings.
-
Select the Computer Name tab.
-
Click the Change... button.
-
Change the domain name in the Domain field.
If no domain exists, follow the steps described here: https://www.groovypost.com/howto/join-a-windows-10-client-domain/.
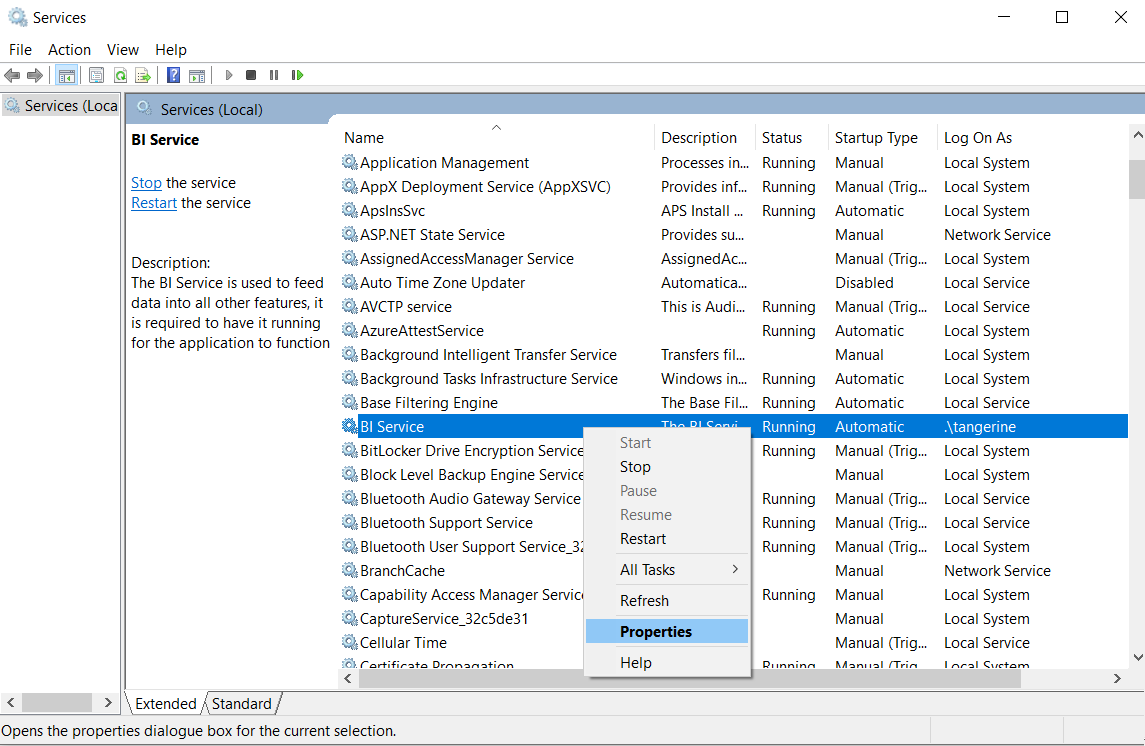
If you do not wish to configure the BI Service using the SEI basic or advanced server installation, you can manually update the BI Service.
- Press the Windows key + R to open the Run window.
- Enter services.msc and press the Enter key.
- In the list, find the BI Service.
-
Right-click BI Service and select Properties.

-
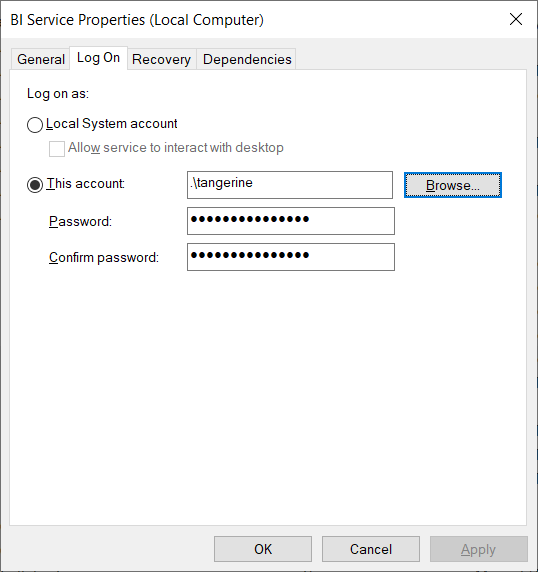
In the Log on tab, select This account.
- Click Browse to add the local administrator account.
- Enter the password of this account and click Apply.
- Click OK.
This error is caused by the fact that the Local System user does not have the rights to access the Central Point.
Solution 1
You can give the rights to access the Central Point to the Local System user.
Solution 2
If it does not work, you can use a user that has the rights to access the Central Point instead of Local System.
To change the user:
-
Search for Services.
-
Right-click BIService and select Properties.
-
Click the Log On tab.
-
Select This account and enter the credentials of the user.
-
Click OK.

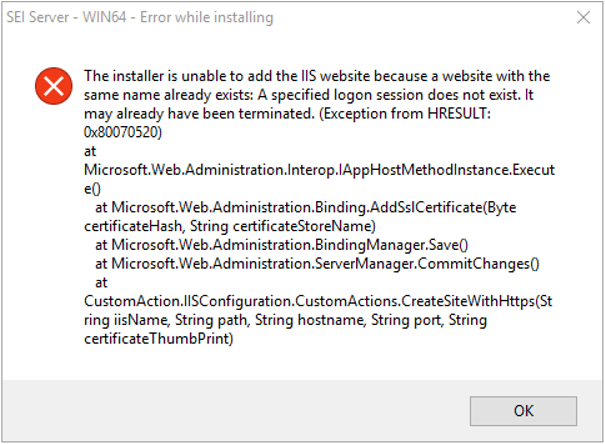
When https is selected for the Web Client or Scheduler API, a certificate needs to be provided. If the wrong certificate is selected during the installation, it returns an error and SEI cannot be successfully installed.
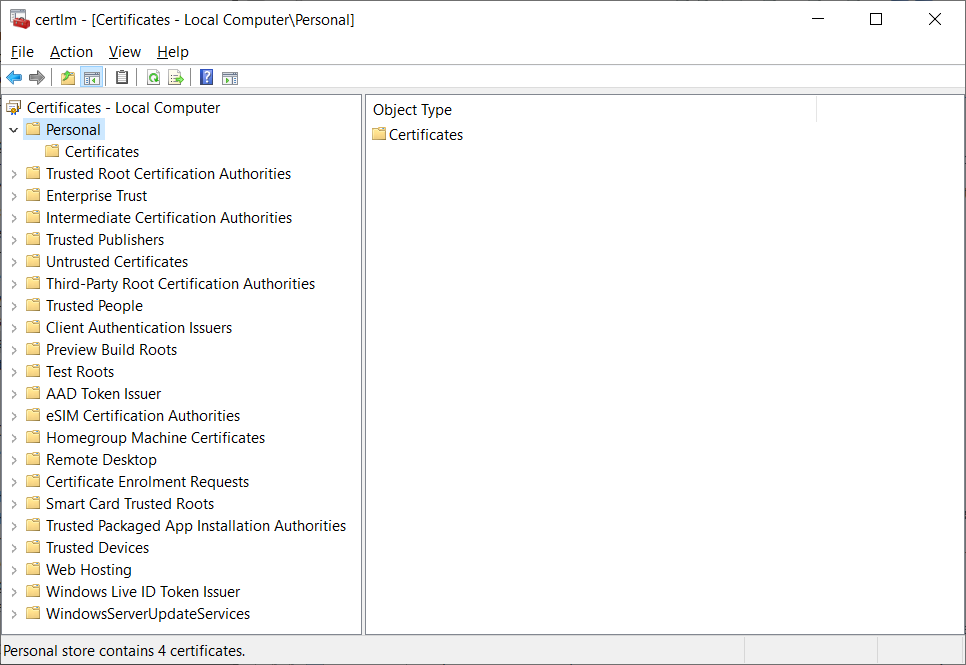
When a certificate for IIS is installed, it is located either in the Personal or Web Hosting folders.
To view the IIS certificate:
-
Open Manage computer certificates.

Some certificates install multiple certificates at once. The certificate that needs to be selected for the website using https is the one that is also present in IIS under Server Certificates.
To view the server certificates:
-
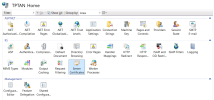
Open IIS.
-
Double-click Server Certificates.

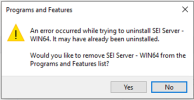
When accessing the Program and Features or Apps and Features, you notice that the icon for the application is missing and you are unable to uninstall.

To remove the application:
-
Verify that the application is already uninstalled by checking if the application files are absent in your installation path.
-
If it is not the case, open the Programs and Features or Apps and Features window.
-
Double-click the SEI Server application.
-
A pop-up window is displayed. Click Yes to uninstall the SEI application.
-
If the application was not removed, use the downloaded package to uninstall it.
-
To make sure SEI is completely uninstalled, follow these steps.

To keep the application:
-
If you wish to keep SEI installed, copy the downloaded package to the cache package folder shown in the initial error message.

If something goes wrong during an upgrade, the process will rollback and the package will re-install the previous version the application. For security reasons, the installer does not save the password of any previously used custom accounts and is therefore unable to reconfigure the permissions during rollback.
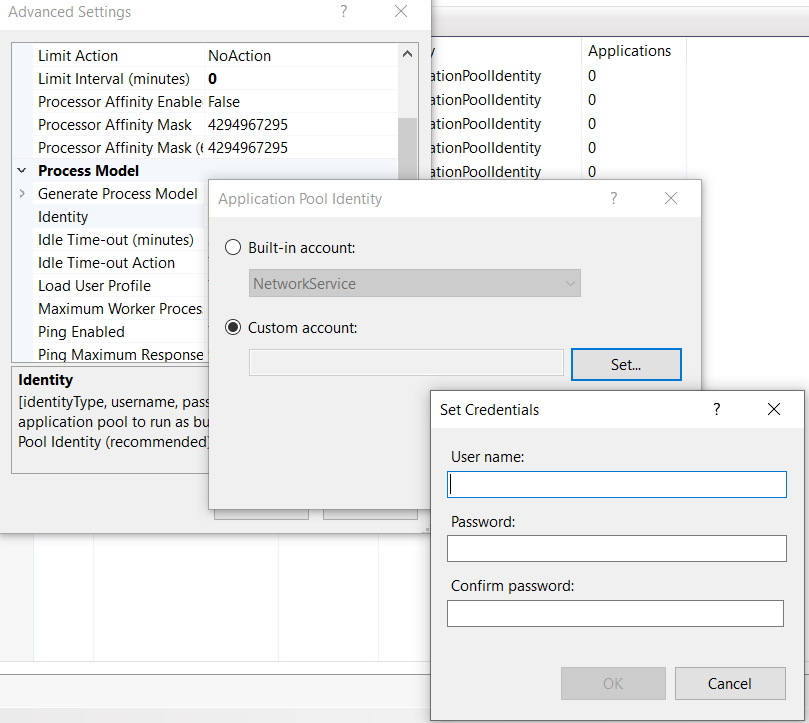
If you were using custom accounts for any applications or services, you will have to reconfigure them manually using the following procedure.
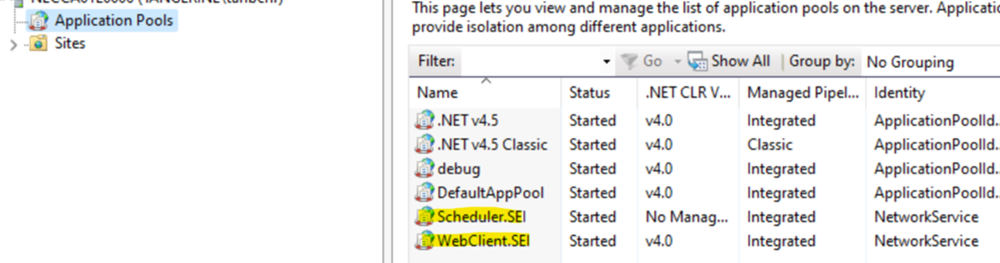
Perform these steps for the Web Client and the Scheduler API :
-
Open IIS.
-
Click Application Pools.
-
Right-click WebClient.SEI and select Advanced Settings.
-
Scroll down to Identity.
-
Click the ellipsis button on the right.
-
Select Custom Account.
-
Click Set and enter your custom account credentials.
-
Click OK in each screen.
-
Repeat these steps for the Scheduler API by right-clicking Scheduler.SEI.
Perform these steps for the BI Service:
-
Open Services.
-
Right-click BIService.SEI.
-
Click the Log On tab.
-
Type the password for the account in the Password and Confirm password fields.
-
Click OK.

The error “SchedSecureObjectsRollback: Failed to store ACL rollback information with error 0x80070002 – continuing” can sometimes be found in the installation logs even after a successful install.
This error is caused by a background process that runs when gathering rollback information in case of a failure. This error can be ignored as it is expected and would not cause any problem with the installation, nor would it block a rollback should it be needed.
You get this error during the SEI preparation step of the installation: "The components WebClient and Scheduler were not accessible during the preparation phase. Please read the log files for more details."
This is due to an incompatibility issue with IIS 8.5, which is used by Windows Server 2012 R2.
This issue can occur with the following SEI versions:
-
2022 R1
-
2021 R2.4
-
2021 R1.2
-
9.5.1176
You need to apply the following workaround to fix this issue.
Applying the workaround will remove the security on HTTP headers.
Windows Server 2012 R2 will no longer be supported as of October 10, 2023. We strongly recommend that you upgrade to later versions of Windows Server to avoid losing support and having to apply the workaround.
-
Open the Web.config file. Access C:\Program Files\Sage\SEI Server\WebClient\Web.config.
-
Locate the requestfiltering tag.
-
Remove the removeServerHeader attribute.


-
Save the file.
-
Restart the application pools:
-
Press the Windows key + R to open the Run window.
-
Enter inetmgr and press the Enter key.
-
On the left pane, click the little arrow to expand the connection.
-
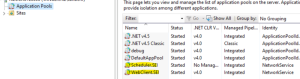
In the Application Pools tab:
-
Right-click Scheduler.SEI and select Start.
-
Right-click WebClient.SEI and select Start.
-
-


You see a Rolling back action message during the installation and the wizard displays the message mentioned above at the end of the installation. This is because the SEI components are not being installed in the proper order.
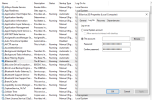
You must install some IIS features on the SEI Server before running the component installation again.
Select the following features under Web Server > Management Tools:
-
IIS Management Console
-
IIS Management Compatibility
-
IIS Metabase Compatibility
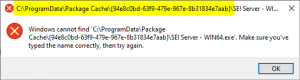
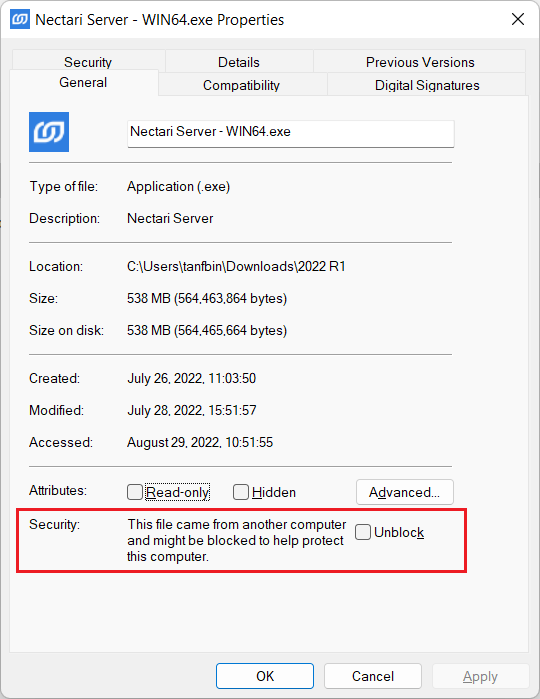
You get a Windows pop-up and the SEI installation cannot proceed. This is because Windows has blocked the server executable to protect the computer.
To fix this issue:
-
Locate the SEI Server - WIN64.exe file.
-
Right-click the file and select Properties.
-
In the General tab, select the Unblock option.
-
Click OK.
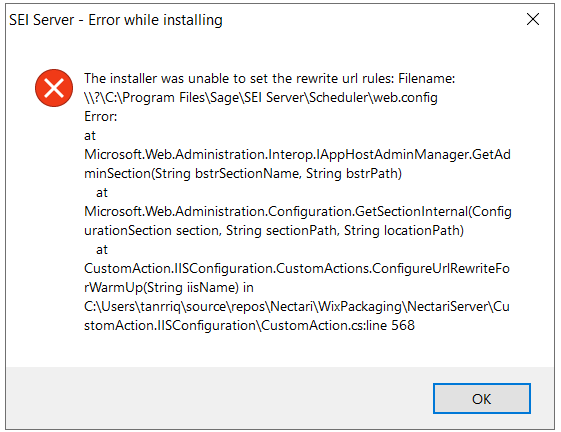
When installing the Scheduler API in HTTPS, some URL rewrite rules are added to the web.config file. You might receive the following error message as regards to these rules.
You may also receive the Gzip option error message:
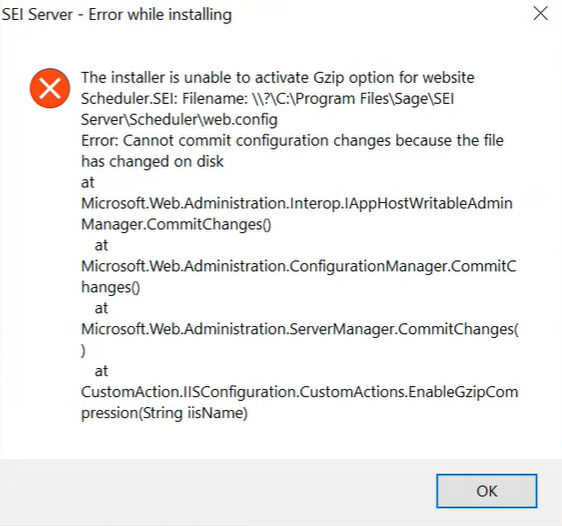
This issue may be caused by your antivirus blocking the SEI installation or ASP .Net 6 not being detected by IIS.
To fix this issue:
-
Check your antivirus logs and add a temporary exception for C:\Program Files\Sage\SEI Server\Server, or disable your antivirus temporarily.
If the issue persists, perform these steps:
-
Try a repair of .Net 6 on the server:
-
Try a repair of Microsoft .Net runtime 6.x.x (x64).
-
Try a repair of Microsoft .Net runtime 6.x.x (x86).
-
Try a repair of Microsoft ASP.Net Core 6.x.x (x64) – Shared Framework (x64).
-
Try a repair of Microsoft ASP.Net Core 6.x.x (x64) – Shared Framework (x86).
-
Try a repair of Microsoft .Net 6.x.x – Windows Server Hosting.
-
-
Try a repair of WebDeploy 3.6 and Web Platform 5.0.
-
Restart the server.
-
Install SEI server package.