Configuration in Sage Intacct
This page explains how to create users and roles in Sage Intacct that are needed when synchronizing with DataSync. It also explains how to properly set up the Process Delete application so that data can be successfully and accurately deleted in both Sage Intacct and DataSync.
On this page:
Import the Process Delete Application in Sage Intacct
When you delete data in Sage Intacct, the Process Delete application triggers a table named NecAuditDelete that removes the deleted row in DataSync as well. The Process Delete application must be set up according to the following procedure in order to function properly.
Complete the following steps in Sage Intacct to import the Process Delete application:
-
From Platform Services, go to Applications and select Install from XML: Nectari_ProcessDelete.xml. This file can be found in ShareFile.
The Nectari_ProcessDelete.xml file includes a menu item that allows you to easily track which records are deleted from transaction tables in the data warehouse.

-
Downloading this file facilitates the following:
-
Creation of the NecAuditDelete table. This table is used to store identifiers representing the rows of data that are deleted from the tables that are synchronized with Nectari. The NecAuditDelete table indicates what records need to be deleted in the Nectari data warehouse.
-
Addition of triggers synchronized with Nectari to detect the deletion of records. These triggers record any deleted records in the NecAuditDelete table.
-
Addition of a Nectari menu option in the Intacct menu to view deleted records (i.e., the contents of the NecAuditDelete table).
-

Configure user security in Sage Intacct
To successfully synchronize with Nectari, there are two security aspects to consider:
-
Nectari requires the creation of a Web Service user to fetch data from the Sage Intacct API. This user must have Read Only access to all Intacct modules as well as the Audit Table for deleted records in Intacct.
-
Regular Intacct users that want to enter transactions must have access to the Nectari Audit Table, which records deleted records. For example, if a user deletes a batch in the GL, a trigger records the batch number that was deleted and adds it to the Nectari Audit Table, which then informs Nectari of the batch to remove from the Nectari data warehouse. In order to do this, the Intacct user must have the Add permission granted for the Nectari Audit Table.
Activate the Web Service Subscription
-
In the upper bar, click the Company category and select Subscriptions located under the Admin tab.

-
In the list, find Web Services and drag the slider to enable it. Ignore the warning about additional charges.


Give the Nectari Application access to Sage Intacct Web Service
-
In the upper bar, click Overview located in the Company tab.

-
In the Company page, under the Setup section, click Company Information.

-
Go to the Security tab and click Edit.

-
Under the Sign-in settings drop-down menu, in the Password section, click the pencil located under the IP Filter field.

- In the Username field, enter the Company ID provided by Sage (the one you used to log in).
-
In the IP Address Filter Information window, click Add.

- In the next window, in the Username field, select the User ID you used to log in.
-
In the Start IP Address and End IP Address fields, enter the IP address provided by the SEI team and click Save.

- Once your User Name is in the list, you can close the IP Address Filter Information window.
-
Back to the Company Information window, scroll down to the Web Services authorizations drop-down menu and click Add.

-
In the Sender ID field, enter NectariMPP and click Save.


Please note that the Web Services functionality configured in Sage Intacct requires a Web User License for external access. Therefore, a Web User License must be obtained from Sage Intacct to implement with SEI.
Create and configure a role for the web service user
Before creating a user, you need first to create a role so that the user can send API requests in DataSync.
-
In the upper bar, click Roles located in the Company tab.

-
In the Roles page, click Add.

-
In the Name field, enter Nectari and click Save.

-
In the Roles Subscription page, select the Application / Module check box and click the Permissions hyperlink.

-
In the Permissions window, click Read-Only and then Save.
 Important
Permissions must be set to Read-Only for all modules/applications listed in this page, to allow / authorize DataSync to retrieve data from Sage Intacct.
-
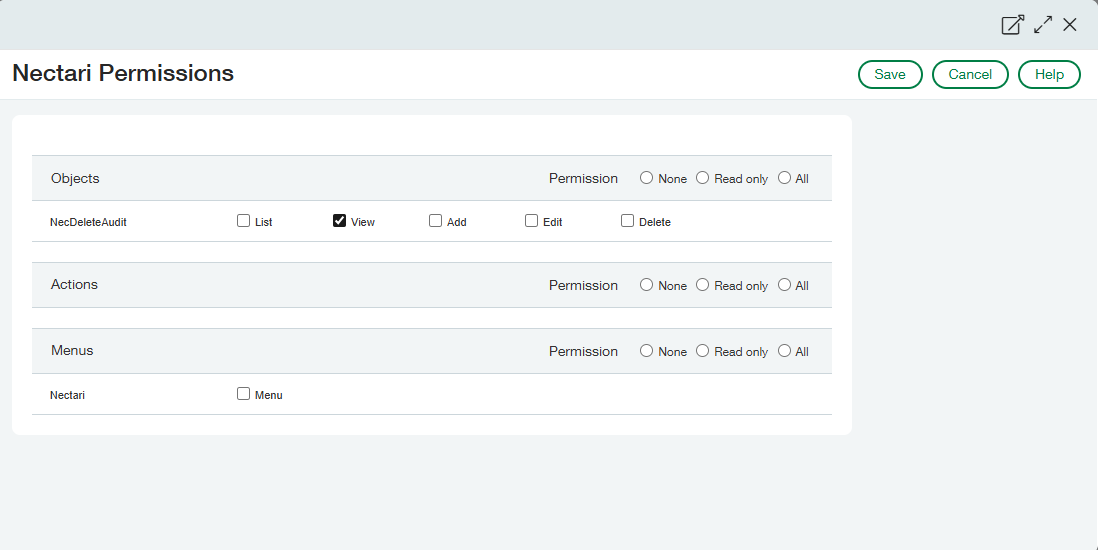
The Role — Nectari needs permission for the object NecDeleteAudit. Click the View check box.

-
Click Save.


Create a Web Service User
After creating the role, you can now create the user that will be used to authenticate the connection between DataSync and Sage Intacct.
-
In the upper bar, click Web Services users, located in the Company tab.

-
In the Web Services Users page, click Add.

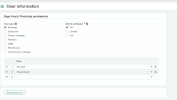
- Fill in the User ID, Last Name, First Name and Email fields.
- Under the User Type section, select Business.
-
Under the Admin Privileges section, select Limited.
 Note
NoteSage Intacct will use the email address you enter here to send you the password associated with the User ID you set.
This User ID will be used for the configuration of the connection in DataSync .
ExampleHere we defined Nectari as User ID.


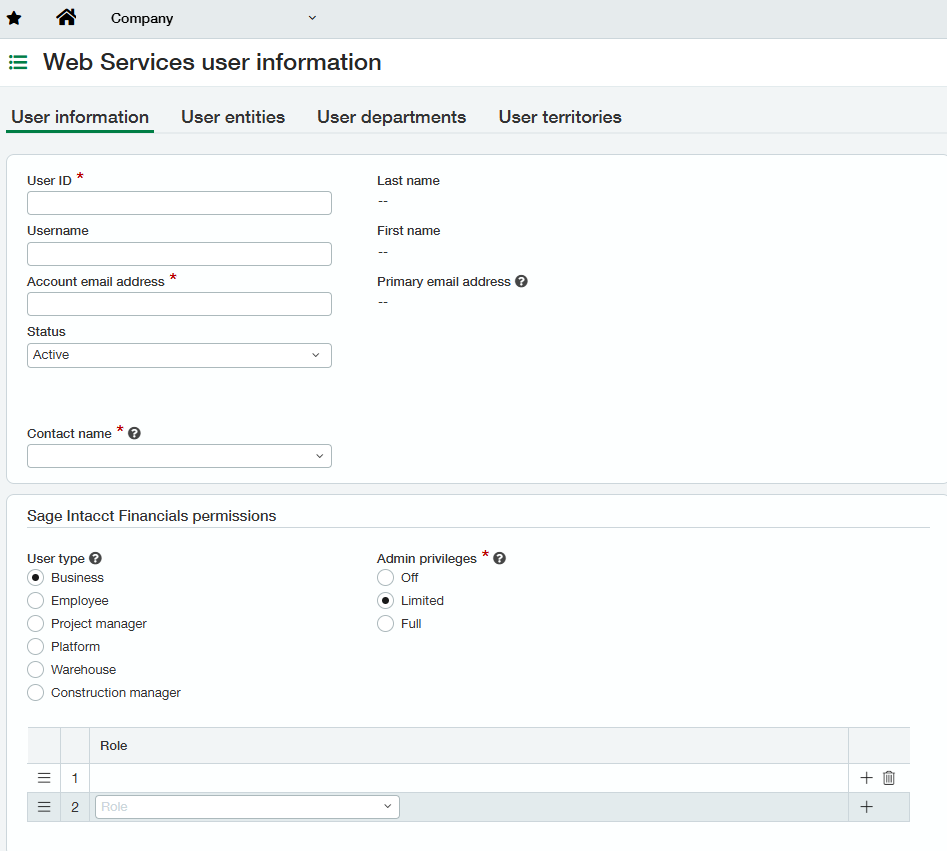

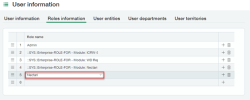
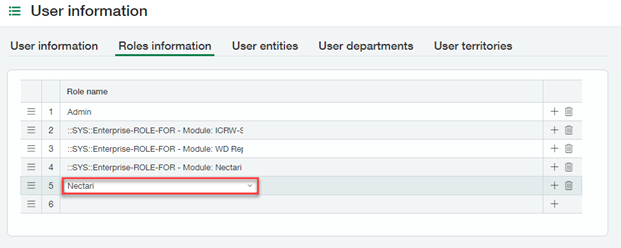
- Once this is done, click the Role Information tab.
-
Click one of the lines and select Nectari in the Role Name drop-down list.

- Click Save and then OK in the pop-up window.
- In the Password window, enter the password you used to log in your Sage Account and click Done.

Once the user has been created, it will appear in the list as shown below :

You will also receive an email from Sage Intacct containing the credentials related to this user.
Configuration of Sage Intacct is now complete, so you can now proceed with DataSync connection settings.
Configure regular Sage Intacct users
All Intacct users that can destroy records (like sales invoices, general ledger entries, purchase invoices, etc.) need to have authorization to add (write) records to the NecDeleteAudit table. This permission must be configured correctly because if it isn't, when a user deletes a record in Intacct, a trigger will not be activated and the information won't be added to the NecDeleteAudit table. You can do this either by creating new roles to add the authorization in 'Write' to NecDeleteAudit and assign this role to all the required users, or you can add this authorization in the existing roles of these users.
-
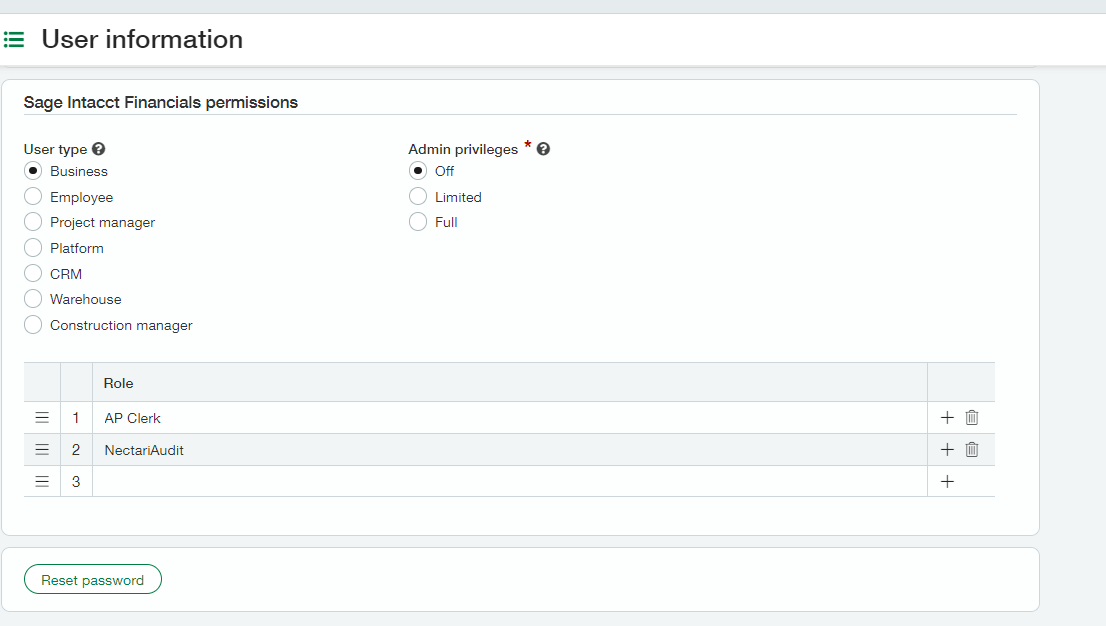
Create a new role called NectariAudit. In the Nectari Permissions window, select Add to enable the Add permission.
-
In the User information window, add the NectariAudit role to the users.
-
Alternatively, rather than add roles to the individual, you can add them to the group.
Add Nectari menu visibility
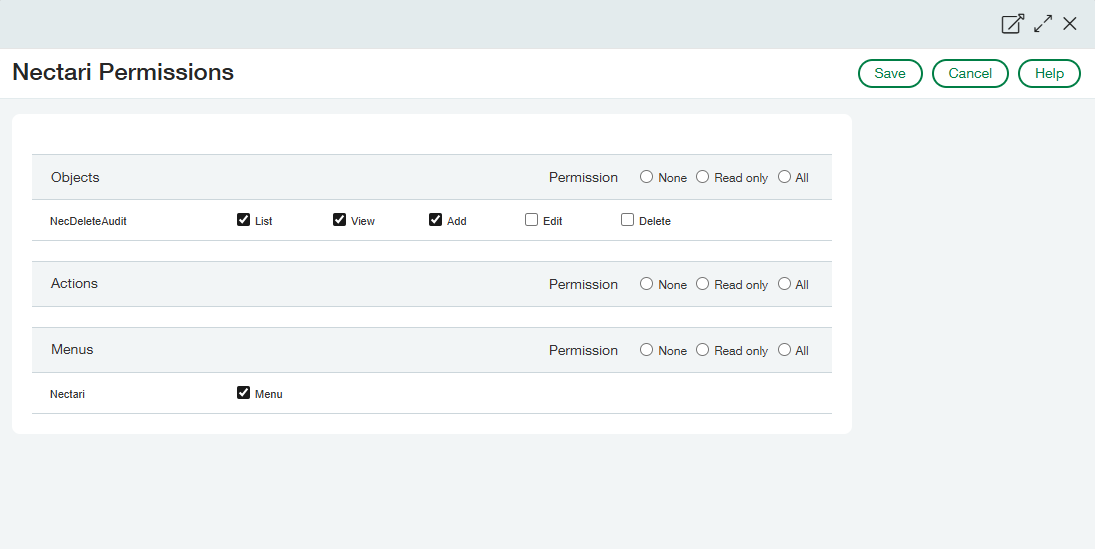
For any users (the administrator, for example) that want to have access to the Nectari Menu and the option to display deleted records found in the NecAuditDelete table, you need to add the following authorizations to the permissions of the user. In Nectari Permissions, ensure that:
-
In the NecAuditDelete section, List, View, and Add are checked.
-
In the Nectari section, Menu is checked.
GL Account Balance Synchronization
For DataSync to be able to read GL account balances directly from Sage Intacct, users must create Reporting Periods for each year that will be reported on in SEI.
To set this up in Sage Intacct:
-
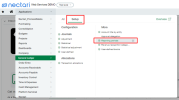
In Sage Intacct, navigate to General Ledger > Setup > Reporting Periods.
-
Click Add to create a Reporting Period.
-
Enter reporting period information according to the image below.

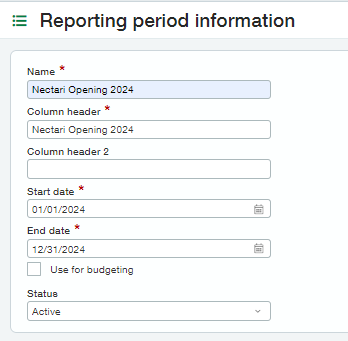
It is strongly recommended that you use the standardized reporting period name "Nectari Opening <YEAR>".
