OneLogin Single Sign-On
This topic provides step-by-step instructions on how to set up SAML 2.0 with OneLogin. These settings will be used for both Web Server and Excel Add-in. OneLogin does not allow multiple ACS Url in the same application. We will need to create two different applications for Web Server and Excel Add-in.
Web Server
-
Create domain on https://app.onelogin.com/login
-
Click Applications on the menu
-
Click Add App
-
Search for SAML Custom Connector (Advanced)
-
Select and name the application SAML 2 Web Server
-
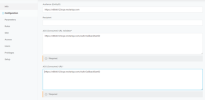
Select Configuration
-
Set the Audience (EntityID)
-
Set the ACS (Consumer) URL Validator and ACS (Consumer) URL
-
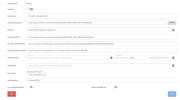
Select SSO
-
Make sure SAML Signature Algorithm is set to SHA-256
-
Copy Issuer URL, SAML 2.0 Endpoint (HTTP) and SLO Endpoint (HTTP) into Web Server
Excel Add-in
-
Create domain on https://app.onelogin.com/login
-
Click Applications on the menu
-
Click Add App
-
Search for SAML Custom Connector (Advanced)
-
Select and name the application SAML 2 Excel Addin
-
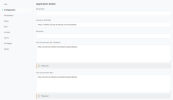
Select Configuration
-
Set the Audience (EntityID)
-
Set the ACS (Consumer) URL Validator and ACS (Consumer) URL
-
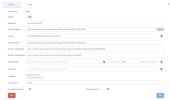
Select SSO
-
Make sure SAML Signature Algorithm is set to SHA-256
-
Copy Issuer URL, SAML 2.0 Endpoint (HTTP) and SLO Endpoint (HTTP) into Web Server


