Excel Add-in Installation Steps
You may have to install prerequisites.
- Close any instances of Microsoft Excel that are open.
- Run the application SEI Excel Add-in - x64.exe.
-
In the Welcome screen, select the desired language for the installation and click Next.

-
In the License Agreement screen, read the end user license agreement and click I Agree.
-
In the Settings Selection screen:
-
Enter the folder where Excel Add-in will be installed.
-
Select Single-tenant if SEI Server is installed in Single-tenant mode.
-
Select Multi-tenant if SEI Server is installed in Multi-tenant mode.
-
If multi-tenant is selected, enter the default Web Server URL that will be reached by Excel Add-in when connecting to SEI.
-
Click Install.

-
-
In the Installation screen, wait for SEI Excel Add-in to be installed and ready for use. This will take a few seconds.
-
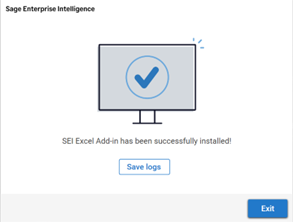
When the installation is completed, the Setup screen is displayed with a confirmation message.
-
Click Exit to close the installation wizard.
-
Click Save logs to save and view the logs if the installation was unsuccessful.
-