Managing Tables
When you create a new extraction, you are automatically directed to the Tables page. The Tables page allows you to define which data you want to retrieve from your data source using either tables or SQL queries. By default, there is no table data in the Tables page.
Adding Tables
By default, when you add a data table, all of its fields are also added. To define which fields to include and exclude from a table, see Configuring Table Fields. Indexes that are available in the extraction are also retrieved from the source and added to the table.
- In the upper left-hand corner, click New and then select Add Tables.

-
Select all tables from which you want to retrieve data in the Choose your tables dialog box.

-
Click Save.


In the Choose your tables window, you can use the search bar in the upper left-hand corner to filter results, select multiple tables using the Ctrl and Shift keys or by clicking and dragging with your mouse.
Depending on the type of extraction you selected (see Adding an Extraction for more details), you may be able to change the table destination name by clicking a cell in the Table destination column then clicking Save once you have made the desired changes.
If you selected a Migration extraction, you will be limited to choosing a table destination name from a drop-down list of existing values.
For Export extractions, there are no restrictions regarding the file extension used for the Destination table (e.g., .txt, .doc, etc.) However, if no file extension is specified, a .csv file format will be generated by default.
You make changes to multiple tables and only need to click Save once to apply all of your modifications.
Applying a Filter
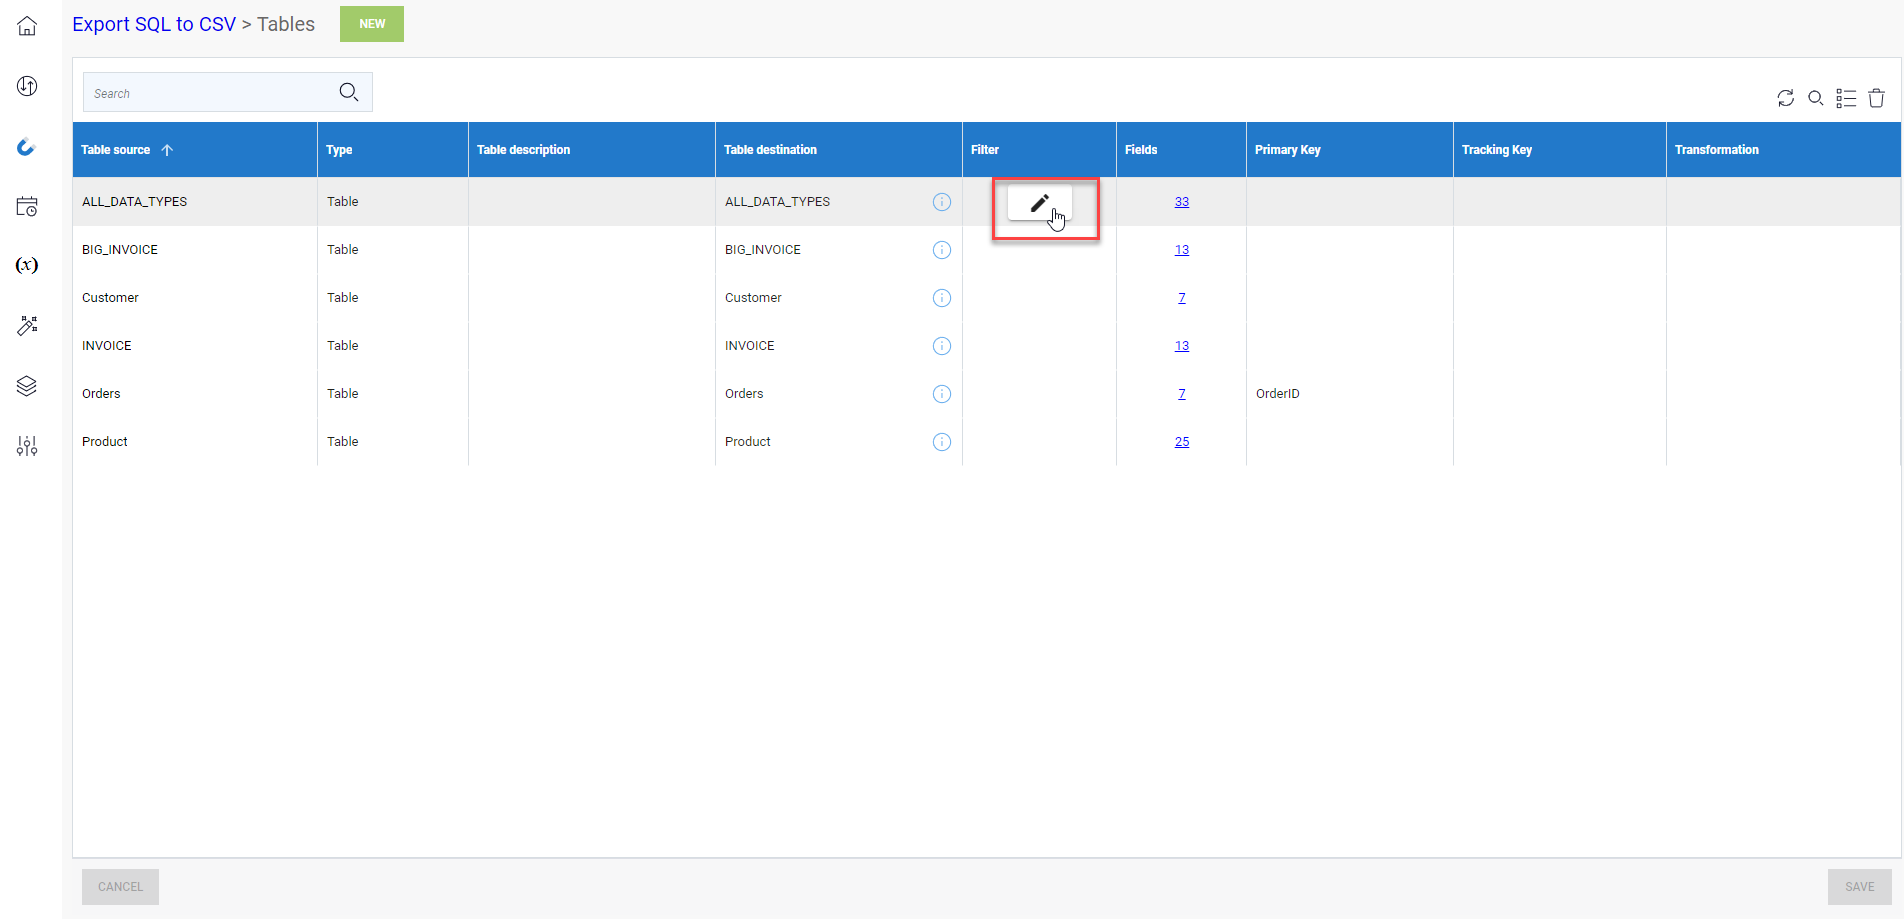
Filters can be applied to any table or query (see Adding an SQL Query for more details on adding filters to queries). To add a filter to a table, simply click on the pencil icon that appears when hovering the cursor over a cell in the Filter column (shown below) then enter your query in the SQL Expression Builder window and click Save.
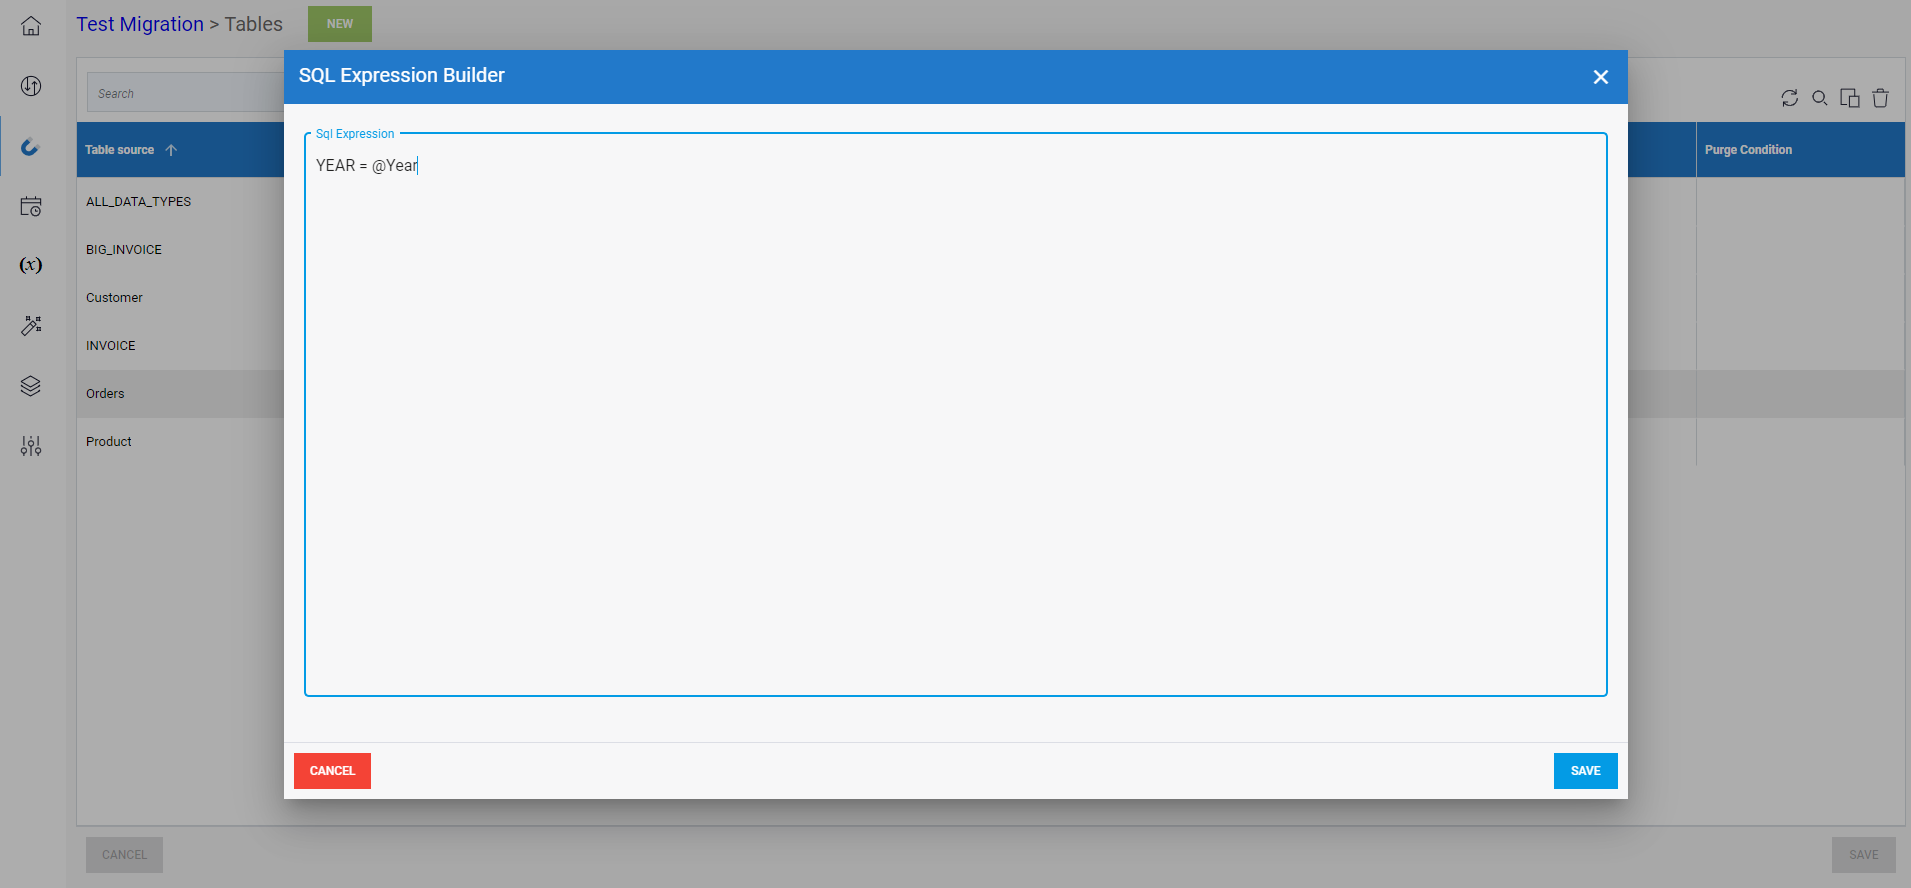
You can also apply filters using variables.
For example, applying a filter using the expression depicted in the image below (i.e., YEAR = @Year) would cause DataSync to retrieve exclusively data related to the specified value of the @Year variable.
Purging Tables
Available only for Migration extractions, purging allows you to clear a table based on a specified condition before importing new data.
To purge a table and define a purge condition:
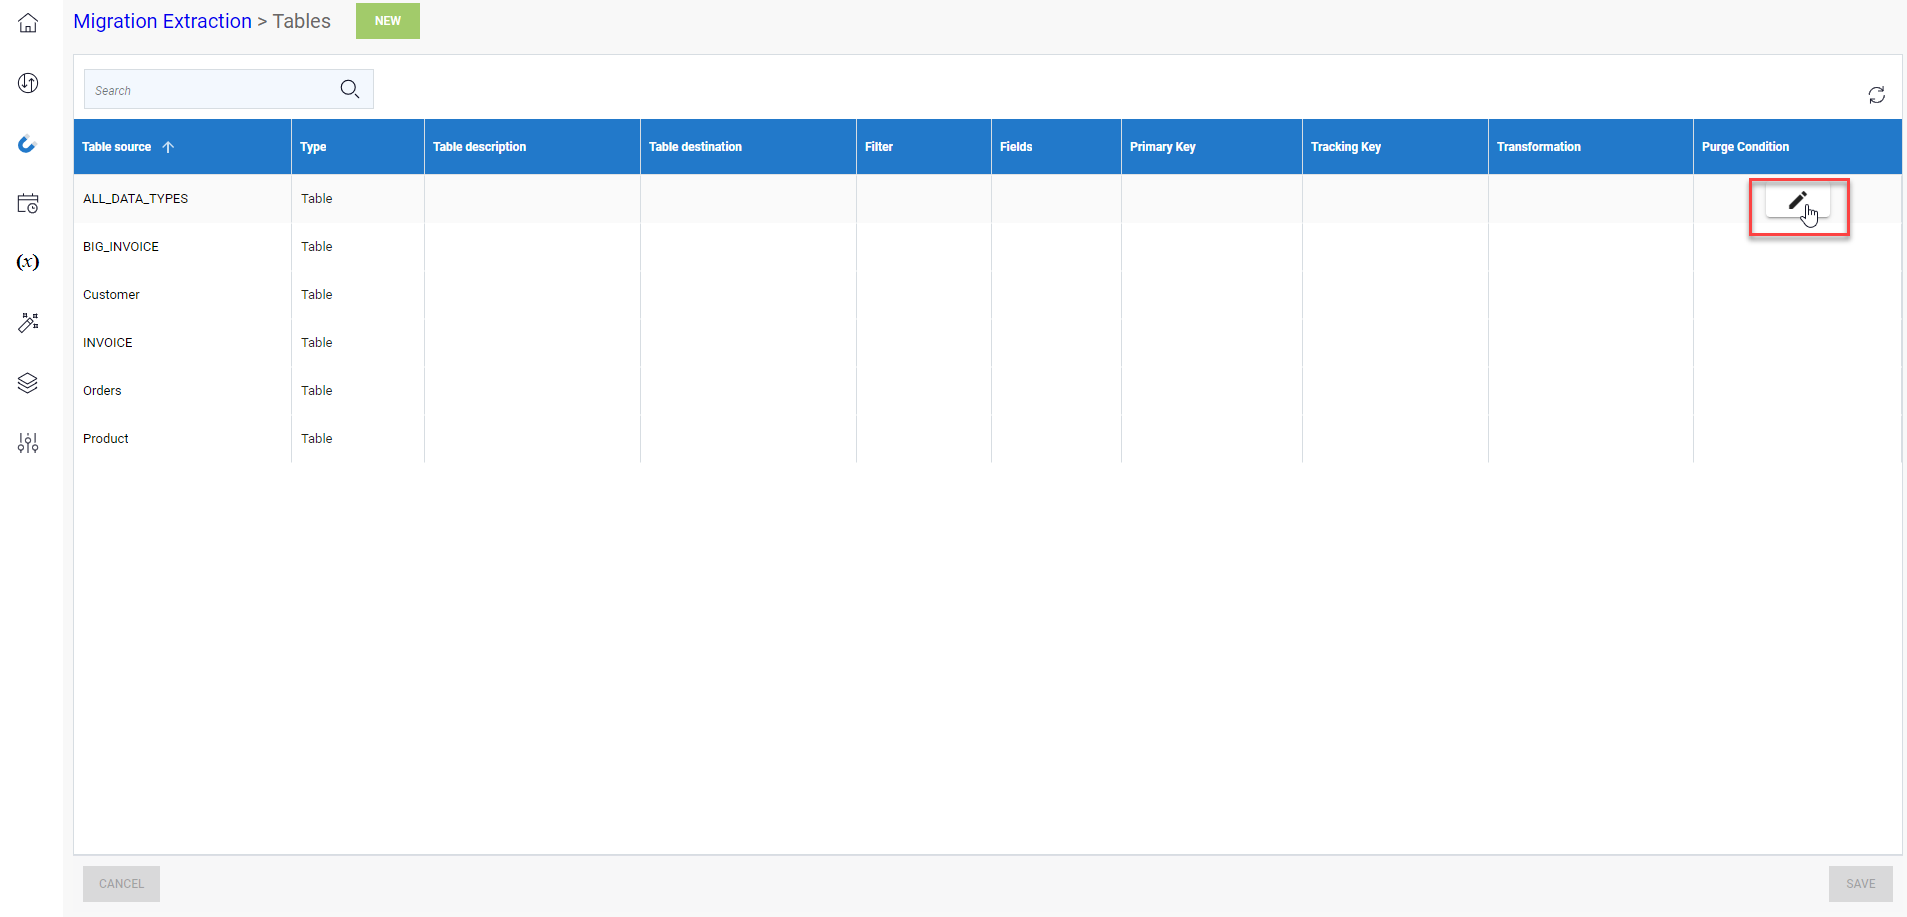
- Click the pencil icon that appears in the Purge Condition column when you hover your cursor over the cell of the table you wish to purge.

- The following warning message will appear, click Confirm.
.
- Enter your condition in the SQL Expression Builder that appears then click Save.

DELETE FROM [DESTINATION_TABLE]
	WHERE <PURGE_CONDITION>
If the purge condition is [YEAR] = '2021', the end result will be:
DELETE FROM [DESTINATION_TABLE]
WHERE [YEAR] = '2021'You can also set variables as purge condition values.
For example, using the expression depicted in the image below (i.e., YEAR = @Year) would cause DataSync to purge all table data related to the specified value of the @Year variable.

Duplicating a Table
As with the Purge Condition feature, tables can only be duplicated in Migration extractions. Duplicating a table extracts all information from a Table then duplicates its Fields. The Table and Field entities (Filter and Query) will then obtain a new ID and the Table will have its Destination Table deleted.
- Select the table you want to duplicate in the list and click on the Duplicate Table icon.


Let's say you want to use the same Table to retrieve different data via a Query. Instead of starting from scratch, the only things you would have to do would be to change the filter and the Destination Table.

Delete a Table
- Select a table in the list.
- Click the trash icon located on the upper right-hand corner.
- Click Confirm.
Deleting a table will also delete its indexes.