Creating a Dimension Group and a Dimension
Dimension Groups have been introduced into the OLAP Manager as a way to force users to organize their dimensions into groups for easier access later on. These groups do not have any other utilities or impact, you could only have one dimension group for all the dimensions without affecting the functionality or usability of the cube.
In order to create a dimension, you will need first to create a dimension group.
To create a dimension group:
- In the Cubes list, click one cube.
- Unselect the In Production option and click
 Save.
Save. - In the navigation bar, click
 Navigation.
 - Select
 Dimensions.
 - In the navigation bar, click
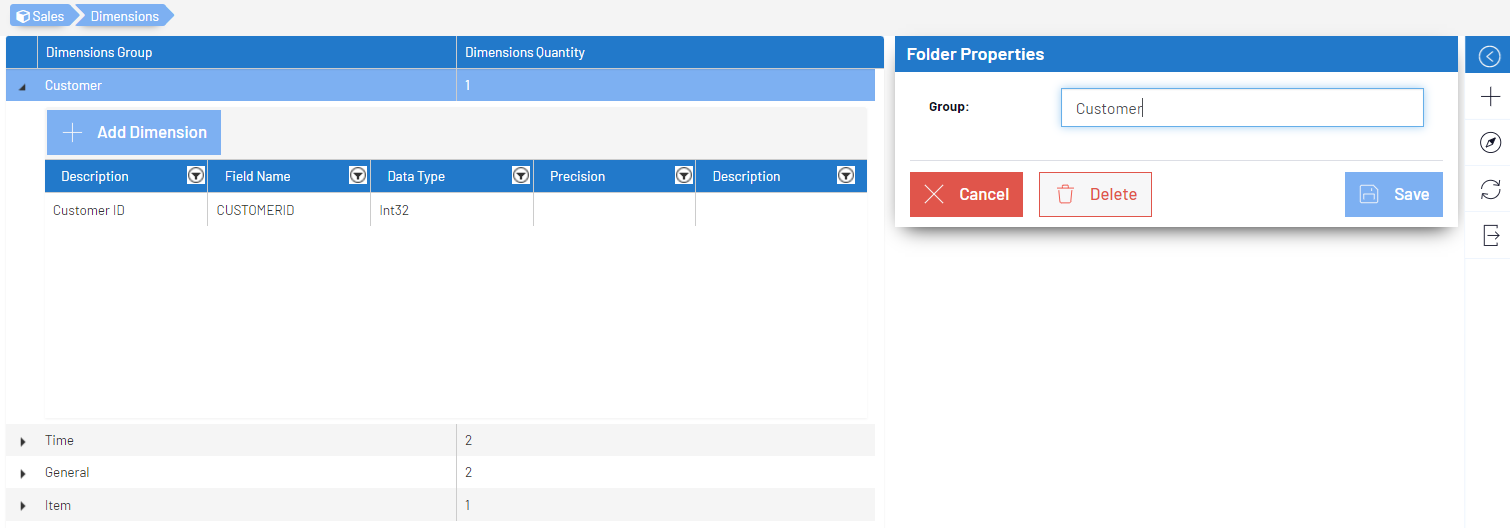
 Add Folder.
 - Enter a name for this folder and click Save.


-
Click the drop-down arrow to display the dimensions within the dimension group.

-
Click
Add Dimension.
-
Enter the parameters as described below.

-
Click
Save.


| Property | Description |
|---|---|
| Description | A description of the dimension. |
| Field Name |
A name for the column. This name will be used to create the field in the final cube table. Note: Use only capital letters and avoid SQL keywords. |
| Data Type | Choose a .net data type that is the closest to the data type in the data source. |
| Folder | Choose the dimension group where the dimension is held. |
| Precision | Size of the data type (if applicable). |
| Scale | For decimal data types: number of decimals. |
| Description | Used for the Description column of a description cube (e.g. customer name). |
| Cancel | Cancels pending changes and goes back to the dimensions list. |