Troubleshooting and FAQs
Excel Add-In
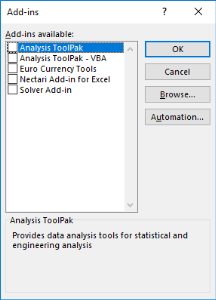
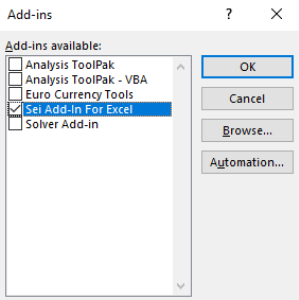
Microsoft Office loads Add-Ins in the order they were added in Excel. And because SEI Excel Add-In was installed last, other Add-Ins may interfered with.
When performing a Data Extraction, I cannot add Columns to the Selected Columns section because the Columns section is covering the arrows that allow me to do so.
Solution
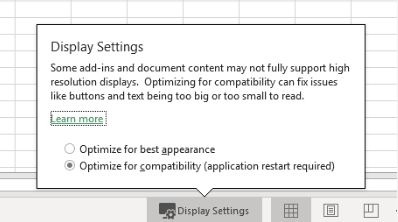
In Excel 2016 and up, there is a display settings. If it set to Optimize for best appearance it will mess up the window. Set it to Optimize for compatibility. 
The Data Extraction window should be displayed correctly as presented below:
If the "MSOLEDBSQL provider is not registered on the local machine" error message shows up in the BIService.log file, this might be because the Windows server was in pending reboot after a Windows update.
Solution
If not done already, restart the computer on which Excel Add-in is installed.
Web Client
Let's say you have two servers with SEI installed with their own Central Point:
| Server 1 | Server 2 |
- Save the same BI License data source on all Central Points:
- Log in to the Web Central Point Configurator on each Central Point (refer to Web Central Point Configurator).
- Ensure that the BILicense data source is exactly the same for all Central Points.
- Activate the license on the first server:
- Log in to the Web Client on SERVER_ONE (refer to Starting the SEI Web Client for the first time).
- Enter the serial number and validate. The license is now activated and registered in the BILicense database.
- Restart the BI Service on other servers (SERVER_TWO in this case):
- Press the Windows + R keys to open the Run window.
- Enter services.msc and press the Enter key.
- In the list, right-click on BI Service and select Restart.
- Log in to the Web Client (refer to Starting the SEI Web Client for the first time). You should access to the second Central Point by using the same license.
Repeat steps 1 and 3 for others SEI servers you want to link to.
- Go to the User options (refer to User Options).
- Click on Profile then on Opening Parameters.
- Under the Landing Page section, click on Delete then on Save to apply changes.
When experimenting an issue with the Web Central Pojnt Configurator, verify if you have a CPConfiguratorClient log file in the following path:
C:\inetpub\wwwroot\CPConfiguratorClient\App_Data\log.txt
If BI License doesn't appear for License Data Source, switch Type to another one and come back to SQL Server to fill in these fields again automatically.
Ensure that the user set on the Application Pool CPConfiguratorPool has enough permissions on Central Point shared folder (Sharing and Security permissions).
- Open IIS.
- Select Application Pools, right-click on CPConfiguratorPool and select Advanced Settings.
- Change the Identity to your new user then restart IIS.


