Insert Views into a Dashboard
Once you create a new dashboard, you fill it with different types of views, such as worksheets or charts. You can add existing views from your data models, or create new views that exist only in that dashboard. Views from different data models can also be added to the same dashboard.
Every dashboard uses the same grid of 96 columns and 192 rows, on which you place and resize each view one cell at a time. As a result, the views stay aligned with each other.
Add an existing view
- Select Dashboards from the navigation panel and open a dashboard.
- In the toolbar on the right, click Edit Dashboard.
- Select Data Models and Views from the navigation panel.
- Expand the folders and the data model of the view, or search for the view in the search bar.
- Drag the view onto the dashboard, then repeat for each view to add.
- (Optional) Drag the edges of the view to resize it on the grid.
- Save your changes.
Change the reference name of a view
The reference name identifies each view in the dashboard, and it's different from the tile header that shows above the view. The reference name appears when you hover over the information icon, and it's also the name you select when you apply a filter to a specific view. By default, it's the name of the view in Data Models and Views.
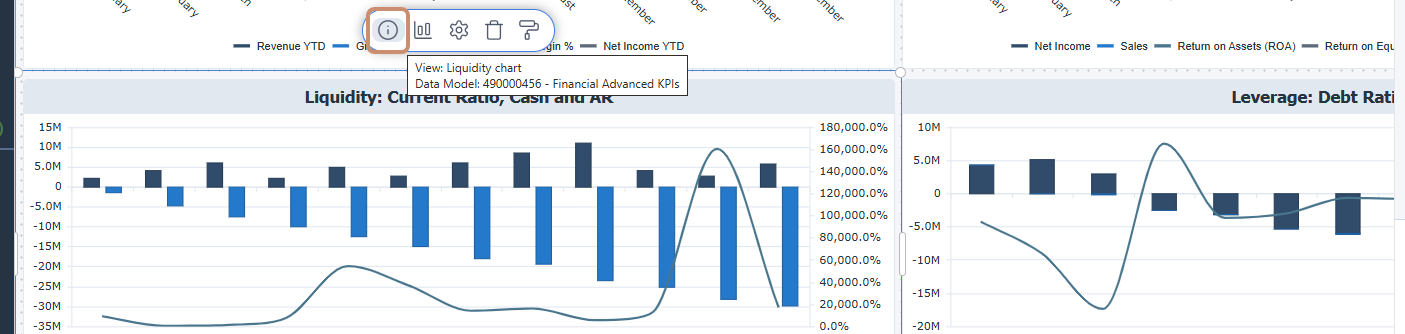
- Name copies of the same view, such as
Sales 2025andSales 2026to filter each one separately. - Tell apart views with similar names, such as two
Revenueviews from different data models. - Translate the reference name for readers in other languages.
- Replace technical view names with names readers understand, such as
Open Ordersinstead ofOE_ORD_OPEN.
- Open the dashboard and click Edit Dashboard in the toolbar on the right.
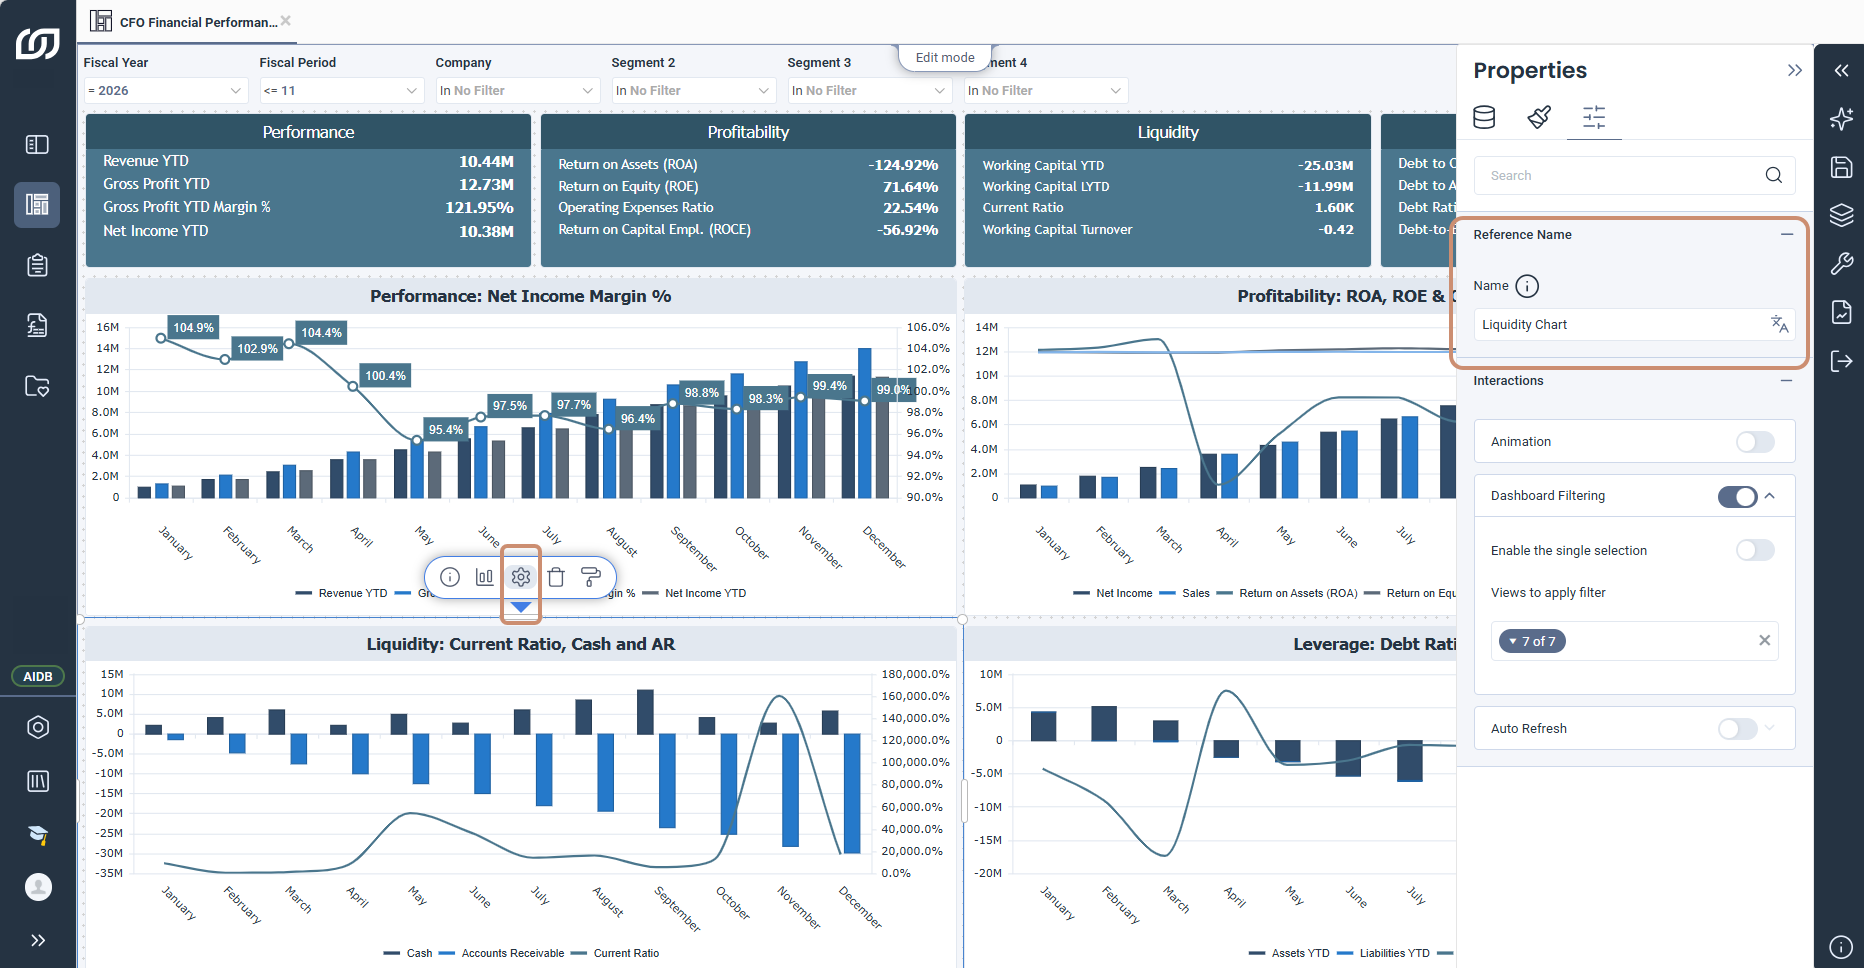
- Select the view, then click the gear icon.
- In the Properties panel, select the Advanced Options tab.
- Expand Reference Name and enter the new name.
- (Optional) Click the translation icon and enter the name in each language.
- Click Save Changes, then Exit Edit Mode.
Create a view directly in the dashboard
Unlike an existing view, a view created in a dashboard only exists in that dashboard. The view uses the data of the selected data model, but it's never saved as a copy under that data model in the Data Models and Views section.
- Open the dashboard and click Edit Dashboard in the toolbar on the right.
- Select Data Models and Views from the navigation panel.
- Expand the folders until you find the data model to use.
- Drag the data model onto the dashboard.
- In the Select View dialog, select a view type.
- Enter a name and fill in the settings, which change with the view type.
- Click Confirm, then repeat for each view to create.
- Save your changes.