Creating a Reporting Tree
- In the Administration section
 , click on
  Reporting Trees in the left pane.
 - In the left-hand corner, click on Add New Reporting Tree.

- In the Reporting Tree field, enter a name for the Reporting Tree.
- In the Filter drop-down lists, select the Global Parameters you want to use as Filters.

The Global Parameters you define here will be used as values when you add a Root Level Filter.

- Click on Confirm to finish.
Click on the pencil icon to edit an existing Reporting Tree or on the cross icon to delete one.
Adding a Root Level Group and a Root Level Filter
At the group level, the filters you define are gathered on each level from the Root (Root Level Filter) into a group so that the hierarchy stays organized and easy to navigate. It is here that you create the Nodes that will compose your Reporting Tree.
- In the Reporting Tree list, click on the wrench icon of the Reporting Tree you want to apply Filters to.

- Click on Add Root Level Group to start defining the hierarchy of your Filters:

In the Description field, enter a name for this group.
In the second field, click on the paste icon to retrieve the value from the Description field or enter the name you want displayed in the tab of your Excel file.
Tick the Distributable checkbox to make this Node and the Filters within this group available for the Distribution.
Click on Save to finish the creation of your group.
NoteIf needed, you can add a Group inside a Root Level Group by clicking on Add Group.


- Click on Add filter to add Filters to the Group you have just created:

- In the Description field, enter a name for this Filter.
- In the second field, click on the paste icon to retrieve the value from the Description field or enter the name you want to be displayed in the tab of your Excel file.
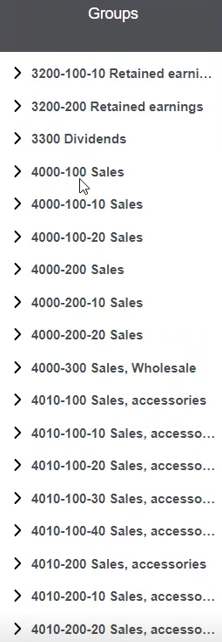
Use the prompt to select a value in the Global Parameters or enter your values. You can use wildcards to filter your values.
- Select the Distributable option to make this Node and the Filters within this group available for the Distribution.
- Click on Save to finish creating your Filter.
- Click on Confirm to create your structure.


Filtering values with wildcards
Wildcards can only be used on text strings (not on numbers). Only one logic must be used at a time; for example, you cannot use 4???;[4000:4999].
-
? replaces one character
-
* replaces multiple characters
-
! excludes characters
-
; defines a list
-
[ ] defines a range
| Example of filtering values | Description | Result |
|---|---|---|
| 4000 | Single value | 4000 Sales |
| 4000;5000;6000 | Single list |
4000 Sales 5000 Finance 6000 Supply Chain |
| 4* | Must starts with 4 | 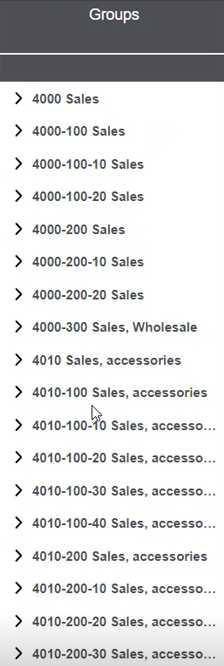
|
| 4??? | Must start with 4 and have a length of 4 characters | 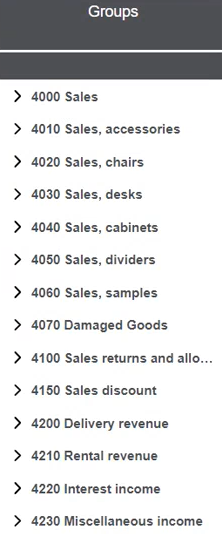
|
| [4000:4999] | Range between 4000 and 4999 | 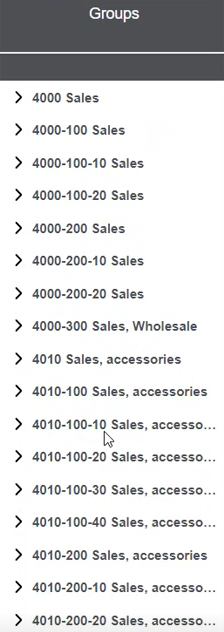
|
| !4000 | Must not be 4000 | 
|
| !4* | Must not start with 4 | 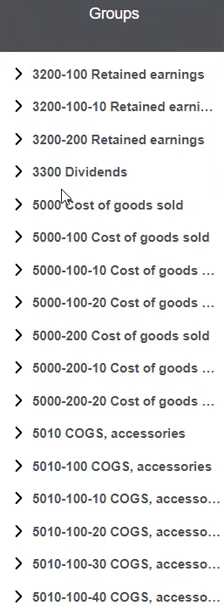
|
| !4??? |
Must not start with 4 and must not be 4 characters long |
|
| ![4000:4999] | Must not be between 4000 and 4999 | 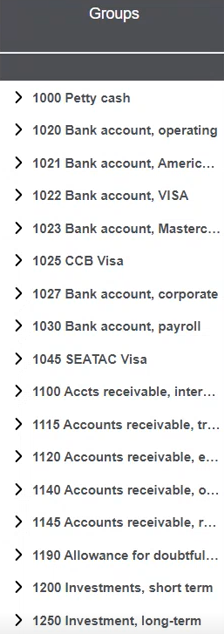
|
| 4???-???-10 |
Must start with 4, followed by - and any 3 characters, followed by - and any 3 characters, must finish with 10, and must be 11 characters long |
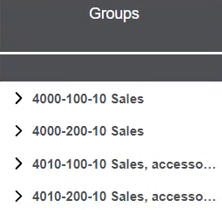
|
| !1000;2000;7000 | Must not be in the list: 1000;2000;7000 |
Editing Reporting Tree Filter Nodes
In the Reporting Tree window, click on Edit:

- If needed, change the name of the Filter in the Description field.
- In the second field, change the name that will be displayed in the tab (sheet) of your Excel file.
- If needed, use the Prompt to select another value in the Global Parameters for the Filters.
- If needed, tick or untick the Distributable checkbox to make this Filter Node available or unavailable to Distribution.
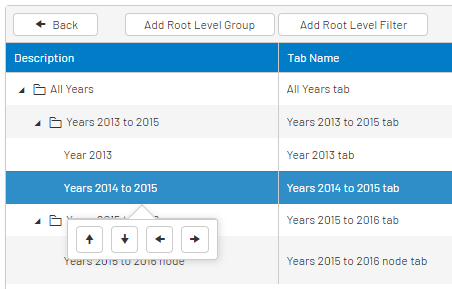
- If needed, select the node and use the contextual menu to move Up, Down, Promote or Demote the node.
 Note
Note← Move up (up by one line within the node)
→ Move down (down by one line within the node)
↑ Promote (move to the parent)
↓ Demote (move to the child)
- Click on Save to finish editing this Filter.
- Click on Confirm to save your changes on the server.
If you choose to edit a Reporting Tree Group Node, you will only be able to change the Description name and the one used in the tab (sheet) of your Excel file.
You can restructure Reporting Tree filters and groups in the Manage Nodes menu by simply dragging and dropping them in the desired location. Both filters and groups can be re-ordered within their current structure level or moved to a parent or child level using this method. However, please note that a group cannot be placed within itself.