Étapes d'installation dans SEI
Cette rubrique décrit les étapes de l'installation pour migrer les données de votre ERP vers Sage X3 dans SEI.
Installation Prerequisites
Perform these steps before installation:
-
Install the SEI Web Application.
-
Download the migration zip packages from ShareFile.
Adding the Data Source in SEI
Add the SEI database as data source in your environment.
-
Open the Web Client application.
-
In the Administration section
 , click
  Env. & Data Sources in the left pane.
 -
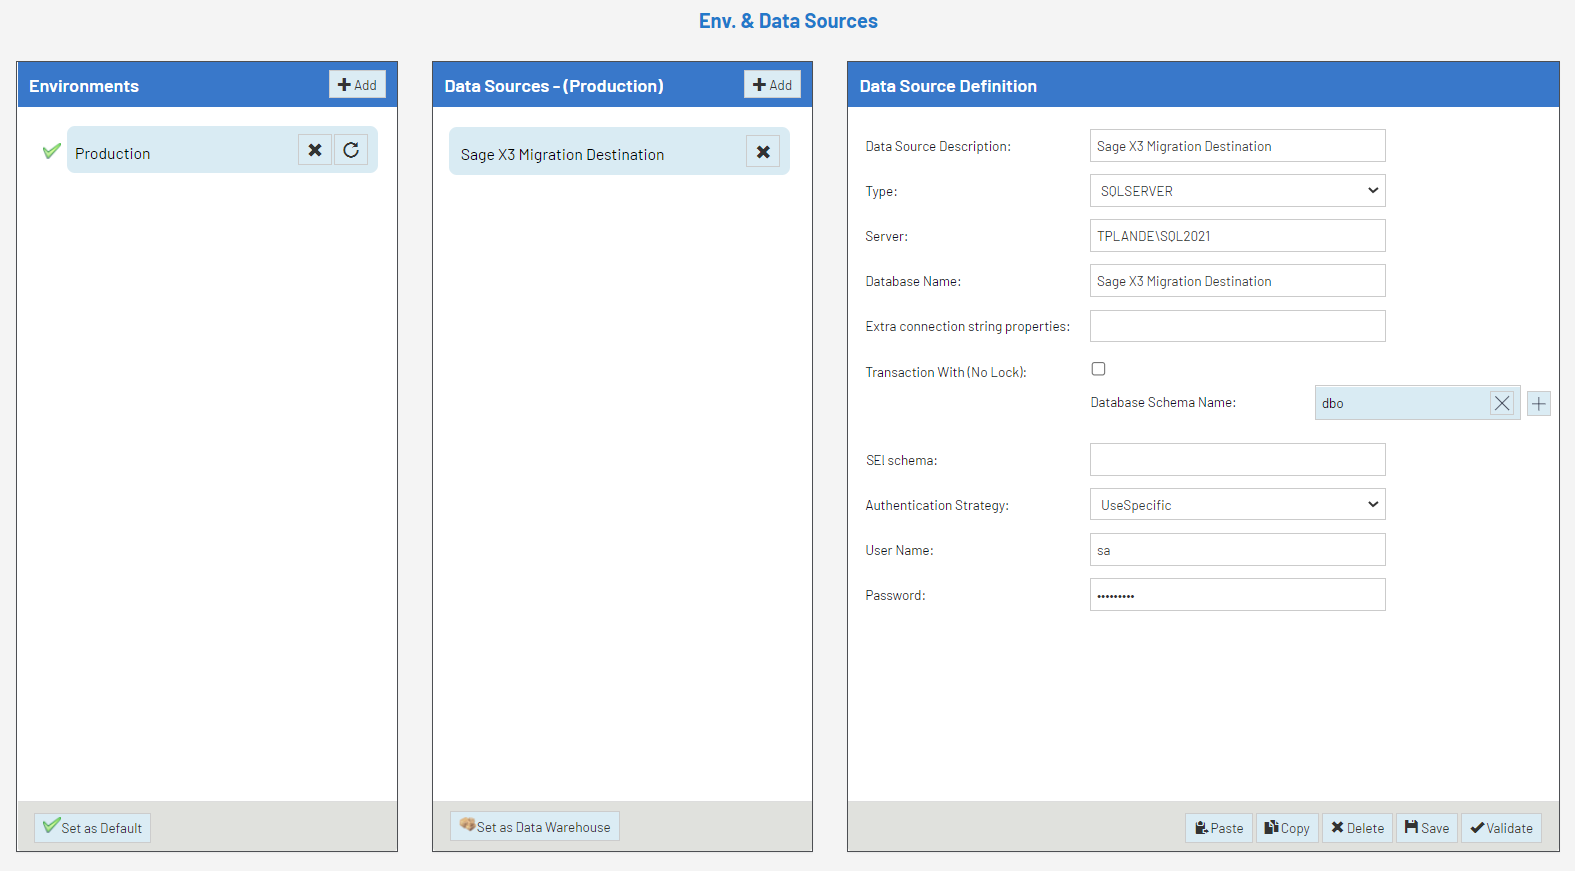
Fill out the fields as described in Environnements et sources de données, specifically:
-
Select SQLSERVER as the type of database connection the data source is using.
-
Select Migration as database schema.
-
Select the Use Specific option as authentication strategy.
-
Enter the User Name and Password.

-
-
Click Validate and then Save.
Importing the Template in SEI
You need to install the template downloaded from ShareFile on your Central Point. This will create all the tables needed for migration and data entry and correction.
-
In the Administration section, select Templates > Import Template.
-
Perform the steps as described in Importer un modèle. Select the X3migration.zip file.
-
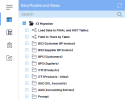
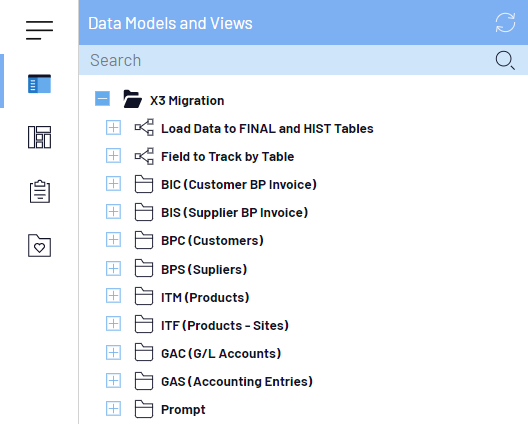
Click Home to go to the Data Models and Views page.
-
Expand the X3 Migration folder to view the models and entities.